Here is a simple pattern for a pioneer bonnet. You’ll need 2/3 yd of cotton fabric, 6″ x 19″ of pellon (style #808) or a stiff fabric, eight inches of 1/4 inch elastic. Fabric–>cut the bonnet back on the fold, cut two brims, and cut two ties (24 inches x 3 inches). Cut one brim out of the pellon. (Link to Pattern)


Fold the right sides of a tie together. Sew across the end and then down one side. Turn the tie through and press. Repeat with the second tie.


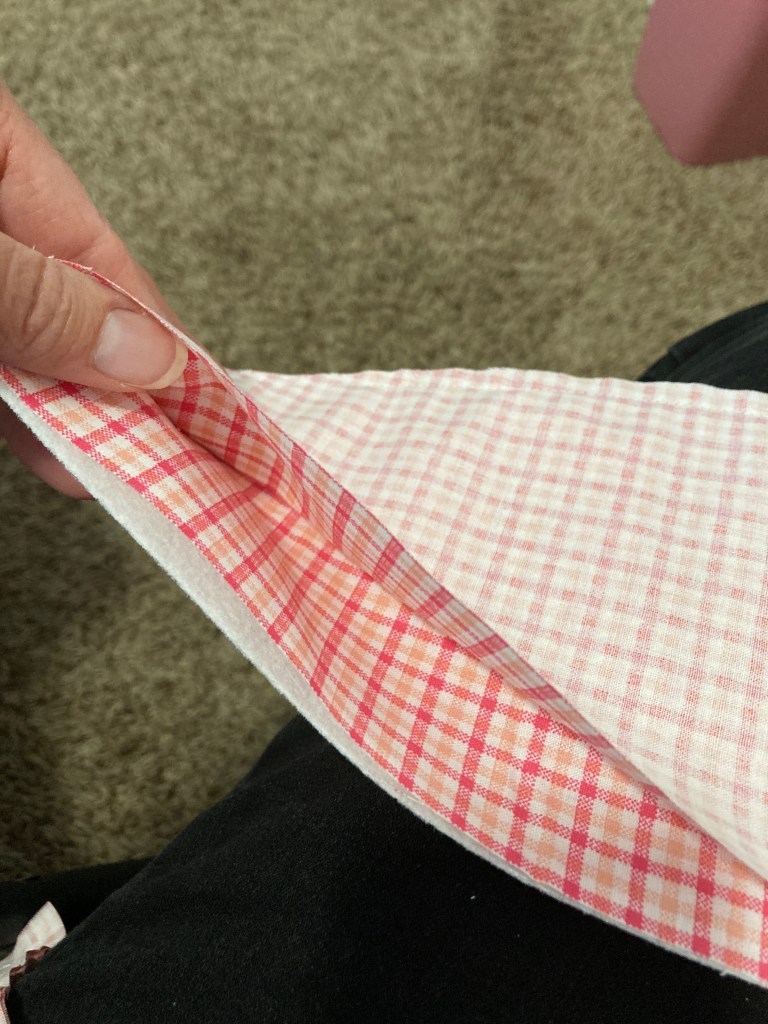
The next photo shows a stiff fabric that is sewn to the back side of one of the pieces of the brim. The specific Pellon mentioned in this post is one that you iron on the back side of the brim. So whichever you prefer will work…either the iron on kind or the sew in one.

Place the right sides of the two brim pieces together. Sew along the curved edge. Clip the edges slightly to help it turn smooth. Turn through. Iron.

Next top stitch around the curved side of the brim.

Measure 7 inches from the bottom of the bonnet back. Mark it with a pin or a marker on both sides. (This is so you will know how far to sew the gather stitch later)

Next sew a hem across the bottom of the bonnet back. You can press a 1/4 inch under and then turn it up about an inch and sew.

Mark the top center of the bonnet back with a pin. Make your stitches so they are large. Sew from one of the 7 inch marks up around the bonnet top down to the other 7 inch mark. Do not back track. You use the top threads to gather the bonnet. The gathering needs to fit the 19 inch length of the brim. Mark the center of the straight side of the brim with a pin. Match the two centers. Pin the brim to the gathered side with the right sides together. Sew.


Turn side in to match the seam. Zigzag from the brim edge to the bottom. Repeat on the other side.


Sew the bonnet ties directly below the brim. I chose to sew about a inch square box and then made diagonals through it. This will ensure the tie will not come un-stitched.

The elastic will be stretched from one side to the other. Like shown below. Mark the middle back with a pin. Mark the middle of the elastic with a pin. Then match them up. You will be stretching the elastic as you sew a zigzag across the back of the bonnet.


Enjoy your bonnet!


Thanks for your help with this!
Thanks for your help with this!
Hello,
We’ve been watching and reading Little House on the Prarie, and my daughter is wanting a bonnet like Laura Ingall’s. I’m a beginner at sewing, so I would feel more confidant if I had a pattern i could print up. Is it possible for you to send me one?
I sent a copy to your email. Enjoy. 🙂
Thank you!
I would love the pattern for the pioneer bonnet.
Thank you
I emailed it to you.
Thank you ????
Thank you so much for responding so quickly ❤️
No problem!
I would like the pattern for the bonnet. Thank you
I sent it in an email.
Would this bonnet fit a 5 year old?
Would this bonnet fit a 5 year old?
It would be too big for a 5 year old. A solution may be to print it out at a reduced size on your printer.
Hi! Is this pattern for kids or adults? thanks!
Adults……but you could print it smaller, if you’d like.